
Managing multiple domains and delegating access to team members or agencies can streamline your online operations and enhance productivity. Whether you’re a web developer handling client websites, a business owner managing various online assets, or collaborating with marketing professionals, knowing how to switch accounts in GoDaddy is essential. In the “How to Switch Accounts in GoDaddy (Switch to Other Person’s Account)” video, you learn a straightforward method to access delegated accounts and resolve common permission issues. This comprehensive guide will expand on those instructions, offering detailed steps, best practices, and additional insights to ensure secure and efficient management of your GoDaddy accounts.
Why Switching Accounts in GoDaddy Matters
Switching accounts in GoDaddy allows you to manage multiple domains and hosting services without the hassle of logging in and out repeatedly. It facilitates collaboration, ensures that each user has the appropriate access level, and maintains the security and integrity of your online assets.
Benefits of Switching Accounts
- Efficient Management: Quickly access different accounts to manage various domains, hosting services, and DNS settings without logging out.
- Collaborative Workflows: Delegate tasks to team members or agencies, enabling them to manage specific domains or services while maintaining overall control.
- Enhanced Security: Assign roles with specific permissions to ensure that users can only access the areas they need, reducing the risk of unauthorized changes.
- Time-Saving: Streamline your workflow by minimizing the need to switch between multiple logins, allowing you to focus on more critical tasks.
Step-by-Step Guide to Switching Accounts in GoDaddy
Follow these detailed steps to securely switch accounts in GoDaddy, ensuring that you can efficiently manage delegated access without encountering permission issues.
Step 1: Sign In to Your GoDaddy Account
- Access GoDaddy:
- Open your web browser and navigate to GoDaddy.
- Click on the Sign In button located at the top-right corner of the homepage.
- Enter Credentials:
- Input your GoDaddy username and password.
- Click Sign In to access your GoDaddy dashboard.
Step 2: Navigate to Account Access Settings
- Open the Dashboard:
- Once logged in, you’ll be directed to your GoDaddy account dashboard, which provides an overview of your domains, hosting services, and account settings.
- Access Account Settings:
- Click on your profile name or icon located at the top-right corner of the dashboard.
- From the dropdown menu, select Account Settings.
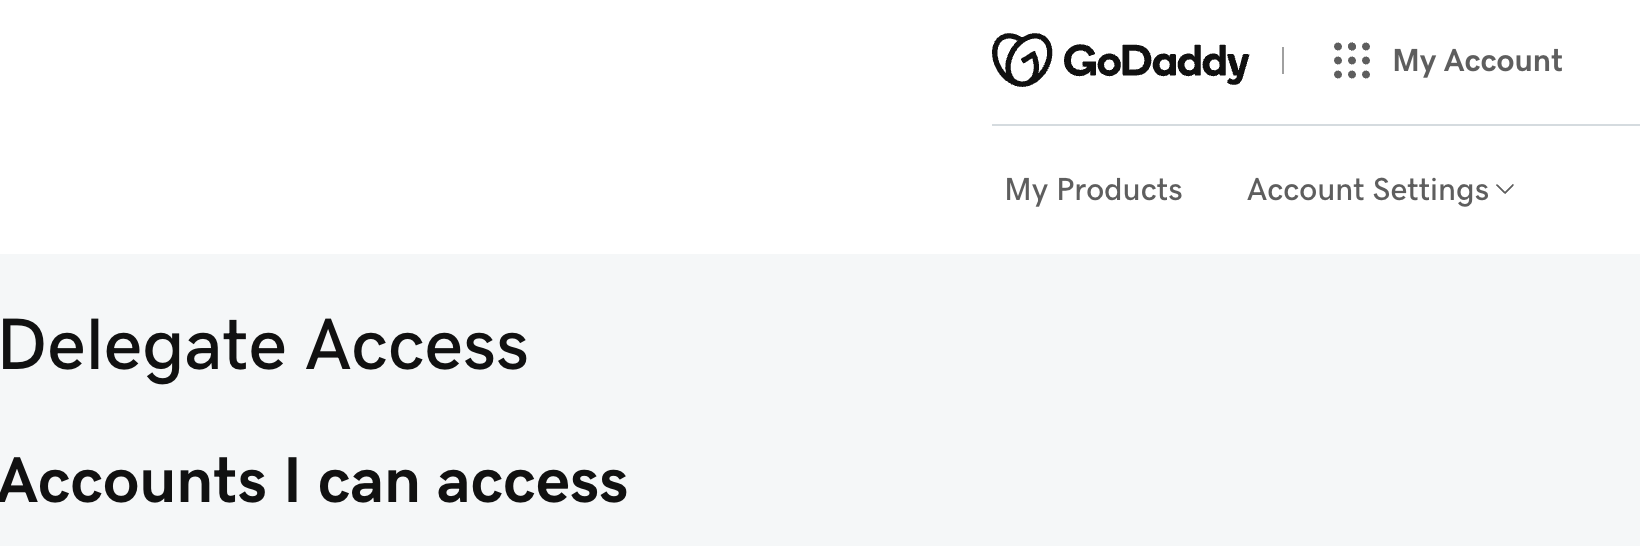
Step 3: Go to Delegated Access
- Find Delegated Access:
- In the Account Settings menu, locate and click on Delegate Access. This section allows you to manage who has access to your account and what level of permissions they possess.
- View Delegated Users:
- Here, you can see a list of all users who have been granted access to your GoDaddy account, along with their permission levels.
Step 4: Switch to a Delegated Account
- Identify the Account:
- In the Delegated Access section, find the account you wish to switch to. This could be a client’s account, an agency’s account, or another delegated user’s account.
- Click on Access:
- Next to the desired account, click on the Access button. This action will switch your dashboard to the selected delegated account.
- Verify Permissions:
- Once switched, ensure that you have the appropriate permissions to manage the account. Depending on the role assigned (e.g., Administrator, Standard, Read-Only), your capabilities may vary.
Step 5: Manage Permissions and Roles
- Assign Roles Appropriately:
- When adding a new user, choose the appropriate role based on their responsibilities. Common roles include:
- Administrator: Full control over the account, including managing users and account settings.
- Standard: Can manage domains and hosting but cannot manage user permissions.
- Read-Only: Can view account details without making any changes.
- When adding a new user, choose the appropriate role based on their responsibilities. Common roles include:
- Add Users as Needed:
- To add a new user, click on the Add User button, enter their email address, select the desired role, and send the invitation.
Step 6: Resolve Security Allowed Domain Issues
A common issue when adding users is encountering the error message: “This domain is not an allowed domain to make changes to the allowed domain list. Please update your security settings.” Here’s how to resolve it:
- Access Security Settings:
- In your GoDaddy dashboard, navigate back to Account Settings.
- Click on the Security tab.
- Add Allowed Domain:
- Under the Allowed Domains section, click on Add Domain.Enter the domain of the user you’re trying to add (e.g.,
localsync.com).Click Save to update the allowed domains list.
- Under the Allowed Domains section, click on Add Domain.Enter the domain of the user you’re trying to add (e.g.,
- Retry Adding the User:
- Return to the Delegate Access section.
- Attempt to add the user again by entering their email address and selecting the appropriate role.
- The error should no longer appear, allowing you to successfully grant access.
Best Practices for Managing Delegated Access
Implementing best practices ensures that granting and managing access to your GoDaddy accounts is secure, efficient, and beneficial for your business.
Define Clear Roles and Responsibilities
- Assess Needs: Determine what tasks each user needs to perform and assign roles based on their responsibilities.
- Avoid Overlapping Duties: Clearly define each user’s role to prevent confusion and ensure accountability.
Limit Access Based on Necessity
- Principle of Least Privilege: Grant only the access necessary for users to perform their tasks. Avoid assigning higher permissions than required.
- Regularly Review Permissions: Periodically audit user access to ensure that permissions are still appropriate and revoke access for users who no longer need it.
Maintain Security
- Use Strong Passwords: Ensure that all users have strong, unique passwords for their GoDaddy accounts.
- Enable Two-Factor Authentication (2FA): Add an extra layer of security by enabling 2FA for all accounts with access to your GoDaddy account.
- Monitor Account Activity: Regularly check the Delegate Access section for any unusual activity or unauthorized access.
Communicate Effectively
- Provide Guidelines: Share clear guidelines on how users should interact with the GoDaddy account to maintain data integrity and consistency.
- Foster Collaboration: Encourage open communication among team members to streamline workflows and address any issues promptly.
Utilize GoDaddy Features
- Use Account Dashboard: Leverage GoDaddy’s account dashboard to monitor domain statuses, hosting services, and billing information.
- Set Up Alerts: Enable notifications for important account activities to stay informed about changes or updates.
Common Mistakes to Avoid
Avoiding these common pitfalls can enhance the effectiveness and security of managing delegated access in your GoDaddy account.
Granting Excessive Permissions
- Impact: Assigning higher permissions than necessary can lead to unauthorized changes or misuse of your account.
- Solution: Carefully evaluate the access level required for each user and assign roles accordingly.
Neglecting to Update Permissions
- Impact: Failing to update permissions when roles change or when users leave can compromise your account’s security.
- Solution: Regularly review and update user permissions to reflect current team structures and responsibilities.
Overlooking Security Measures
- Impact: Inadequate security can expose your account to potential threats.
- Solution: Implement robust security practices, including strong passwords and 2FA, to protect your account.
Poor Communication
- Impact: Lack of clear communication can lead to misunderstandings and inconsistent account management.
- Solution: Establish clear communication channels and provide comprehensive training and guidelines for all users.
Ignoring Account Activity
- Impact: Not monitoring account activity can result in unnoticed unauthorized access or changes.
- Solution: Regularly review the Delegate Access section and monitor account logs for any suspicious activity.
Frequently Asked Questions
Can I Grant Access to Multiple People at Once?
Yes, you can invite multiple users by repeating the invitation process for each individual. However, manage invitations carefully to maintain control over who has access to your GoDaddy account.
What Are the Different Permission Levels?
- Administrator: Full control, including managing users and account settings.
- Standard: Can manage domains and hosting but cannot manage user permissions.
- Read-Only: Can view account details without making any changes.
How Do I Remove Someone’s Access?
- Navigate to Account Settings > Delegate Access.
- Find the User: Locate the user you want to remove.
- Remove Access: Click the three-dot menu next to their name and select Remove Access.
Do Users Need a GoDaddy Account to Access My Delegated Account?
Yes, users must have a GoDaddy account to accept an invitation and access your delegated account. Ensure that you are adding users with valid email addresses to facilitate account creation.
Can I Change a User’s Permission Level After Granting Access?
Yes, you can adjust a user’s permission level at any time by navigating to Account Settings > Delegate Access, clicking on the user’s name, and selecting a new role from the dropdown menu.
Maximizing the Impact of Delegated Access
To fully leverage the benefits of granting access to your GoDaddy account, integrate these strategies into your broader domain and hosting management plans.
Align with Your Business Goals
- Define Clear Objectives: Identify what you want to achieve with your domain and hosting management, such as increasing website uptime, optimizing SEO, or expanding your online presence.
- Tailor Access to Goals: Assign roles that align with your business objectives, ensuring that users have the necessary permissions to contribute effectively.
Use Data to Optimize Management
- Monitor Domain Performance: Regularly review domain statuses, renewals, and DNS settings to ensure optimal performance and prevent downtime.
- Optimize Hosting Services: Utilize GoDaddy’s hosting tools to manage website performance, security, and scalability based on user inputs and insights.
Integrate with Other Tools
- Connect with CMS Platforms: Integrate your GoDaddy hosting with content management systems like WordPress or Joomla to streamline website management.
- Utilize SEO Tools: Use GoDaddy’s SEO tools in conjunction with user access to enhance your website’s search engine visibility and performance.
Foster Team Collaboration
- Regular Meetings: Hold regular meetings with your team to discuss domain management, hosting configurations, and any issues that need addressing.
- Shared Responsibilities: Distribute tasks such as managing DNS settings, handling renewals, and optimizing hosting resources among team members to ensure efficient account management.
Enhance Security Measures
- Regular Audits: Conduct regular security audits to identify and address potential vulnerabilities in your domains and hosting services.
- Implement Best Practices: Follow security best practices, such as using SSL certificates, enabling firewall protection, and keeping software up-to-date to safeguard your online assets.
Conclusion
Switching accounts in GoDaddy is a strategic capability that enhances your ability to manage multiple domains, collaborate with team members, and maintain the security of your online assets. By following the step-by-step guide provided in this post, implementing best practices, and avoiding common mistakes, you can ensure that your GoDaddy account management is both secure and efficient. Proper delegation and strategic management of your GoDaddy accounts not only streamline operations but also drive better performance and foster long-term success in the competitive digital landscape.