Effective conversion tracking is a cornerstone of successful digital marketing strategies. By accurately tracking lead form submissions, home-service businesses can measure the effectiveness of their Google Ads campaigns, optimize their marketing efforts, and ultimately drive more qualified leads. In the “How to Setup Conversion Tracking for Lead Form Submissions in Google Ads Using Google Tag Manager” video, you learn a streamlined process to implement this tracking mechanism. This comprehensive guide will expand on those instructions, providing you with detailed steps, best practices, and additional insights to ensure your conversion tracking setup is both accurate and efficient.
Why Conversion Tracking Matters
Conversion tracking allows you to understand how well your ads are performing in driving desired actions, such as lead form submissions. Here’s why it’s essential:
Measure Campaign Effectiveness
By tracking conversions, you can determine which ads, keywords, and campaigns are generating the most leads. This data is crucial for making informed decisions about where to allocate your marketing budget for maximum ROI.
Optimize Ad Spend
Understanding which aspects of your campaigns are performing well enables you to optimize your ad spend. You can increase investment in high-performing areas while reducing or eliminating spend on underperforming segments.
Improve Targeting and Messaging
Conversion data provides insights into your audience’s behavior and preferences. This information can help you refine your targeting strategies and craft more compelling ad messages that resonate with potential customers.
Enhance Overall Marketing Strategy
Integrating conversion tracking with your broader marketing efforts allows for a more cohesive and effective strategy. It helps you align your online advertising with your business goals, ensuring that your marketing activities contribute directly to your bottom line.
Step-by-Step Guide to Setting Up Conversion Tracking
Follow these detailed steps to set up conversion tracking for lead form submissions in Google Ads using Google Tag Manager (GTM).
Step 1: Create a Conversion Action in Google Ads
- Sign In to Your Google Ads Account
- Navigate to Google Ads and log in with your credentials.
- Access the Conversions Section
- In the top menu, click on the Tools and Settings icon (🔧).
- Under the Measurement section, select Conversions.
- Create a New Conversion Action
- Click on the + New conversion action button.
- Choose Website as the source of the conversion.
- Configure the Conversion Action
- Category: Select Lead to categorize the conversion appropriately.
- Conversion Name: Enter a descriptive name, such as “Lead Form Submission.”
- Value: Choose whether to assign a value to each conversion. For simplicity, you can select Don’t use a value if you prefer not to assign monetary values.
- Count: Select One to count each conversion only once per ad interaction.
- Set Up the Tag
- Under Tag setup, choose Use Google Tag Manager.
- Note down the Conversion ID and Conversion Label provided. You will need these for GTM.
- Finalize and Save
- Click Done to save your new conversion action.
Step 2: Configure Google Tag Manager
- Sign In to Your Google Tag Manager Account
- Navigate to Google Tag Manager and log in.
- Select Your Container
- Choose the container associated with your website where you want to implement the conversion tracking.
- Create a New Tag
- Click on Tags in the left-hand menu.
- Click the New button to create a new tag.
- Name the Tag: For example, “Google Ads Lead Form Conversion.”
- Set Up the Tag Configuration
- Click on Tag Configuration and select Google Ads Conversion Tracking.
- Enter the Conversion ID and Conversion Label you obtained from Google Ads.
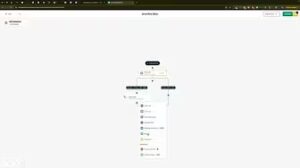
- Set Up the Trigger
- Click on Triggering and then the + icon to add a new trigger.
- Name the Trigger: For example, “Lead Form Submission.”
- Choose Trigger Type: Select Page View.
- Configure Trigger:
- Choose Some Page Views.
- Set the condition to trigger on the thank-you page URL. For instance, if your thank-you page URL contains
/contact/thank-you, set the condition as:- Page URL contains
/contact/thank-you.
- Page URL contains
- Click Save to finalize the trigger.
- Save and Publish the Tag
- After configuring the tag and trigger, click Save.
- Click on Submit in the top-right corner.
- Enter a version name and description (e.g., “Added Lead Form Conversion Tracking”).
- Click Publish to make the changes live.
Step 3: Verify the Conversion Tracking Setup
- Use Google Tag Assistant
- Install the Google Tag Assistant Chrome extension to verify that your tags are firing correctly.
- Navigate to your website and submit a lead form to trigger the thank-you page.
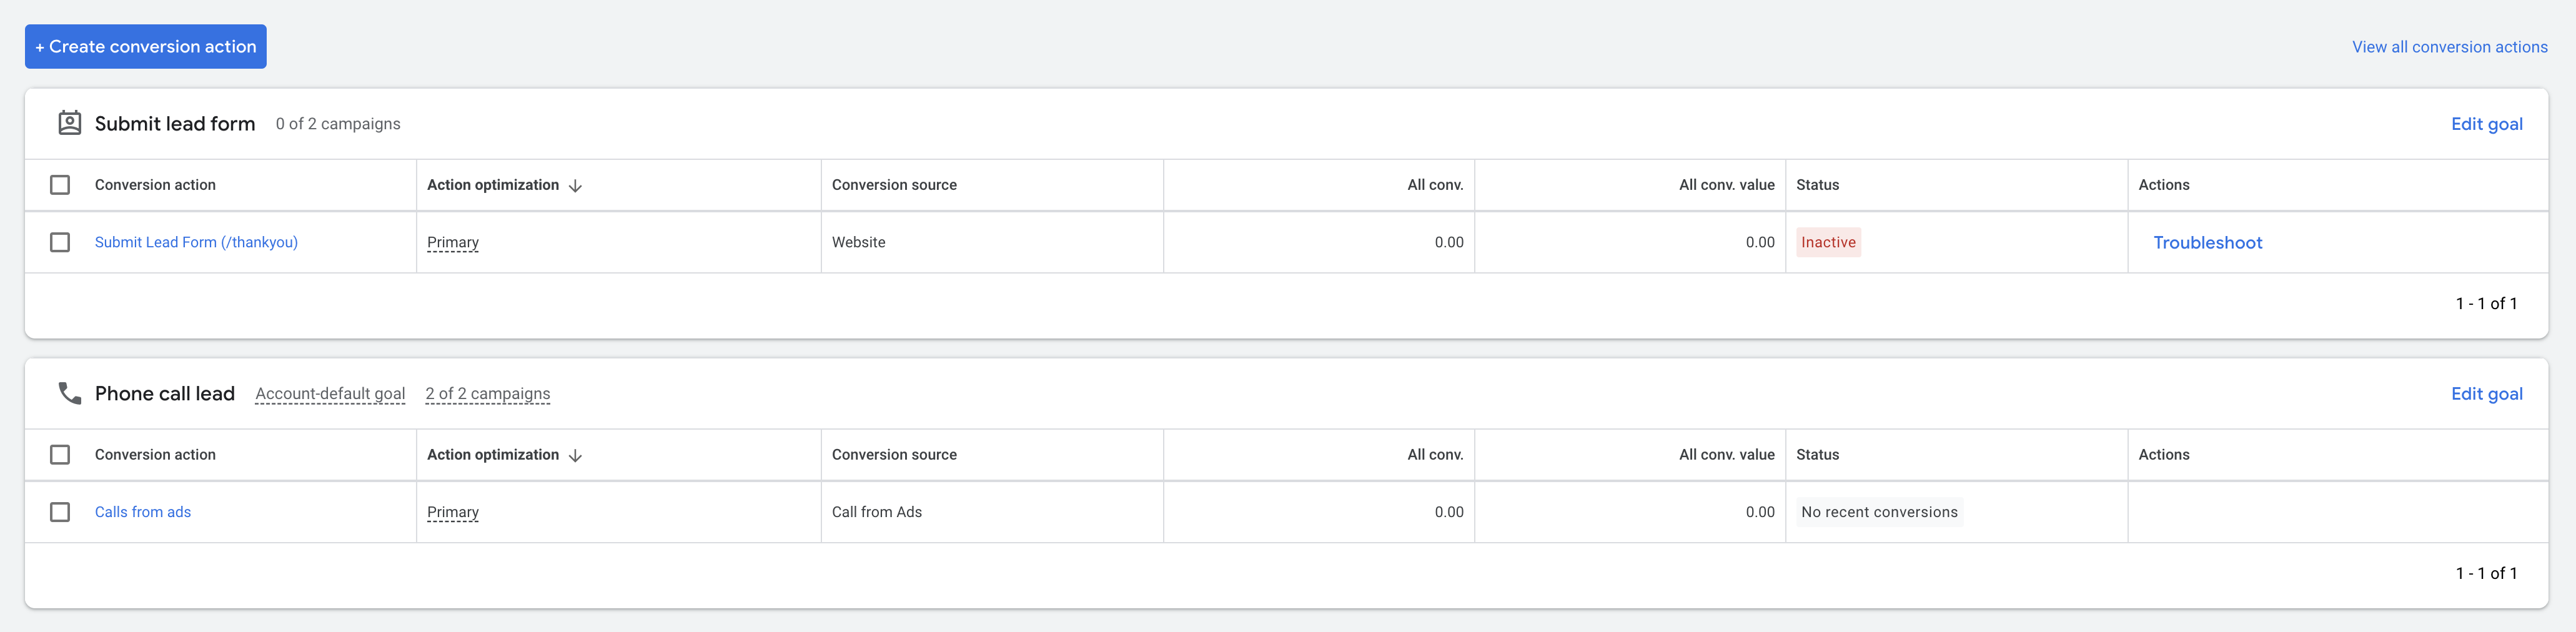
- Check in Google Ads
- Go back to your Google Ads account.
- In the Conversions section, verify that the conversion was recorded.
- Test Multiple Times
- Submit the lead form multiple times to ensure consistency in tracking.
Best Practices for Conversion Tracking
Implementing best practices ensures that your conversion tracking setup is both accurate and effective.
Ensure Accurate Thank-You Page URL
- Unique URL: Make sure that the thank-you page has a unique URL that can be easily targeted with your trigger.
- Consistent Naming: Use consistent naming conventions for URLs to simplify trigger setup.
Utilize Descriptive Naming Conventions
- Tag Names: Name your tags descriptively (e.g., “Google Ads Lead Conversion”) to easily identify them in GTM.
- Trigger Names: Similarly, name triggers clearly to avoid confusion when managing multiple tags.
Regularly Monitor Conversion Data
- Analyze Trends: Regularly review your conversion data in Google Ads to identify trends and areas for improvement.
- Adjust Campaigns: Use the insights gained from conversion data to refine your ad targeting, messaging, and budget allocation.
Maintain Consistency Across Platforms
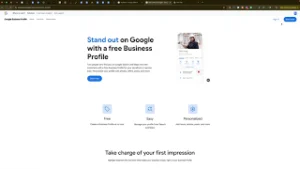
- Google Business Profile: Ensure that your business information is consistent across your Google Business Profile and website.
- Other Tracking Tools: If you use other tracking tools (e.g., Google Analytics), ensure they are integrated and synchronized with your conversion tracking setup.
Protect Against Double Tracking
- Unique Triggers: Ensure that each conversion action has a unique trigger to prevent multiple tags from firing for a single action.
- Testing: Thoroughly test your setup to confirm that each lead form submission is tracked only once.
Common Mistakes to Avoid
Avoiding these common pitfalls can enhance the effectiveness of your conversion tracking efforts.
Incomplete Tag Setup
- Impact: Incomplete or incorrect tag setup can lead to missed conversions and inaccurate data.
- Solution: Follow each step meticulously and verify each part of the setup using testing tools.
Ignoring Mobile Users
- Impact: Failing to account for mobile users can result in incomplete tracking, as mobile and desktop versions of your website might behave differently.
- Solution: Test your conversion tracking on both mobile and desktop devices to ensure consistency.
Not Updating After Website Changes
- Impact: Changes to your website structure or URL can break your conversion tracking setup.
- Solution: Update your GTM triggers and tags immediately after making significant changes to your website.
Overcomplicating the Setup
- Impact: An overly complex setup can lead to errors and make troubleshooting difficult.
- Solution: Keep your conversion tracking setup as simple and straightforward as possible, focusing on essential actions.
Neglecting Regular Audits
- Impact: Over time, tracking setups can become outdated or accumulate errors, leading to inaccurate data.
- Solution: Conduct regular audits of your conversion tracking setup to ensure it remains accurate and effective.
Frequently Asked Questions
Do I Need Google Tag Manager to Track Conversions?
No, you don’t necessarily need Google Tag Manager to track conversions. However, using GTM simplifies the process of managing and deploying tracking codes without needing to modify your website’s code directly. It offers greater flexibility and ease of use, especially for businesses with multiple tracking needs.
How Can I Assign a Value to Each Conversion?
When setting up your conversion action in Google Ads, you can choose to assign a specific value to each conversion. This value can represent the average revenue you expect from a lead or the importance of the lead to your business. Assigning values helps in measuring the ROI of your campaigns more accurately.
Can I Track Multiple Forms on My Website?
Yes, you can track multiple lead forms by creating separate conversion actions and corresponding tags and triggers in Google Tag Manager. Ensure each form redirects to a unique thank-you page or uses specific identifiers to differentiate between them.
What If My Thank-You Page URL Changes?
If your thank-you page URL changes, you must update the trigger condition in Google Tag Manager to match the new URL. Failing to do so will result in conversions not being tracked correctly.
How Do I View Conversion Data in Google Ads?
After setting up conversion tracking, go to the Conversions section in Google Ads. Here, you can view detailed reports on the number of conversions, conversion rate, cost per conversion, and other relevant metrics. Use these insights to evaluate and optimize your campaigns.
Maximizing the Impact of Conversion Tracking
To fully leverage the benefits of conversion tracking, integrate these strategies into your broader marketing and operational plans.
Align with Your Marketing Goals
- Goal-Oriented Tracking: Define clear marketing goals and ensure your conversion actions align with these objectives. Whether it’s generating leads, sales, or sign-ups, track actions that directly contribute to your goals.
- Campaign Optimization: Use conversion data to optimize your marketing campaigns. Allocate more budget to high-performing ads and refine underperforming ones based on conversion insights.
Integrate with CRM Systems
- Seamless Data Flow: Connect your conversion tracking with your Customer Relationship Management (CRM) system to streamline lead management and follow-up processes.
- Enhanced Lead Nurturing: Use the data from conversions to segment your leads and tailor your nurturing strategies, increasing the likelihood of converting leads into customers.
Utilize Advanced Analytics
- Multi-Channel Attribution: Understand how different marketing channels contribute to conversions. Use this information to develop a multi-channel attribution model that accurately reflects your marketing efforts.
- Behavioral Insights: Analyze user behavior post-conversion to gain deeper insights into your customers’ journey. This can help in refining your marketing strategies and improving customer retention.
Foster Team Collaboration
- Shared Goals: Ensure that all team members understand the importance of conversion tracking and work collaboratively to achieve common marketing goals.
- Training and Support: Provide training on using Google Ads and Tag Manager effectively. Ensure that team members are equipped to manage and troubleshoot the tracking setup.
Enhance Customer Experience
- Personalized Follow-Ups: Use conversion data to personalize follow-up communications with leads, addressing their specific needs and increasing engagement.
- Responsive Service: Ensure that your team promptly responds to leads tracked through conversions. A swift response can significantly improve conversion rates and customer satisfaction.
Conclusion
Setting up conversion tracking for lead form submissions in Google Ads using Google Tag Manager is a vital step for home-service businesses aiming to optimize their marketing efforts and drive more qualified leads. By following the detailed steps outlined in this guide, implementing best practices, and avoiding common mistakes, you can ensure that your conversion tracking setup is both accurate and effective. Proper conversion tracking not only enhances your ability to measure campaign performance but also provides valuable insights to refine your marketing strategies, ultimately leading to sustained business growth and success.