Embedding videos on your WordPress Elementor website is a powerful way to showcase your services and engage potential customers. At LocalSink, we regularly add videos to our clients’ websites to highlight their expertise and attract more leads.
Did you know video content increases the amount of time people spend on your website by 88%?
Here’s a step-by-step guide to embedding videos on a local home service business website built with Elementor.
Steps to Embed Videos:
1. Access the WordPress Editor:
- Log in to your WordPress dashboard.
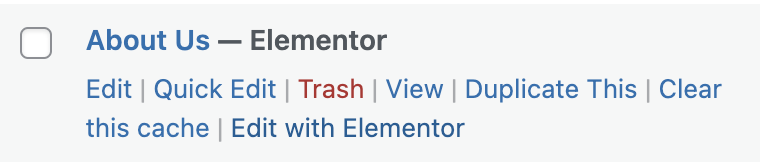
- Go to the page or post where you want to add the video.
- Click “Edit with Elementor” to open the Elementor editor.
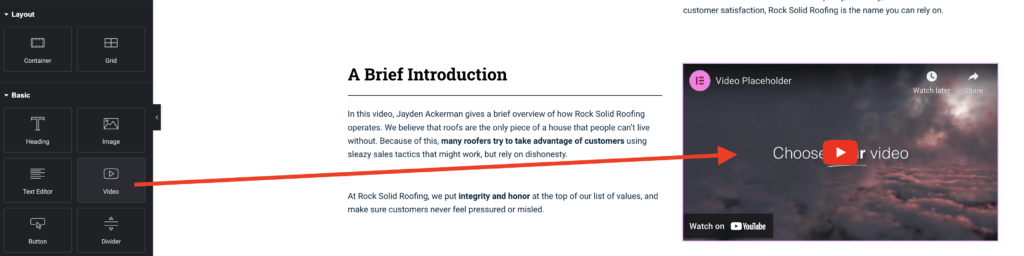
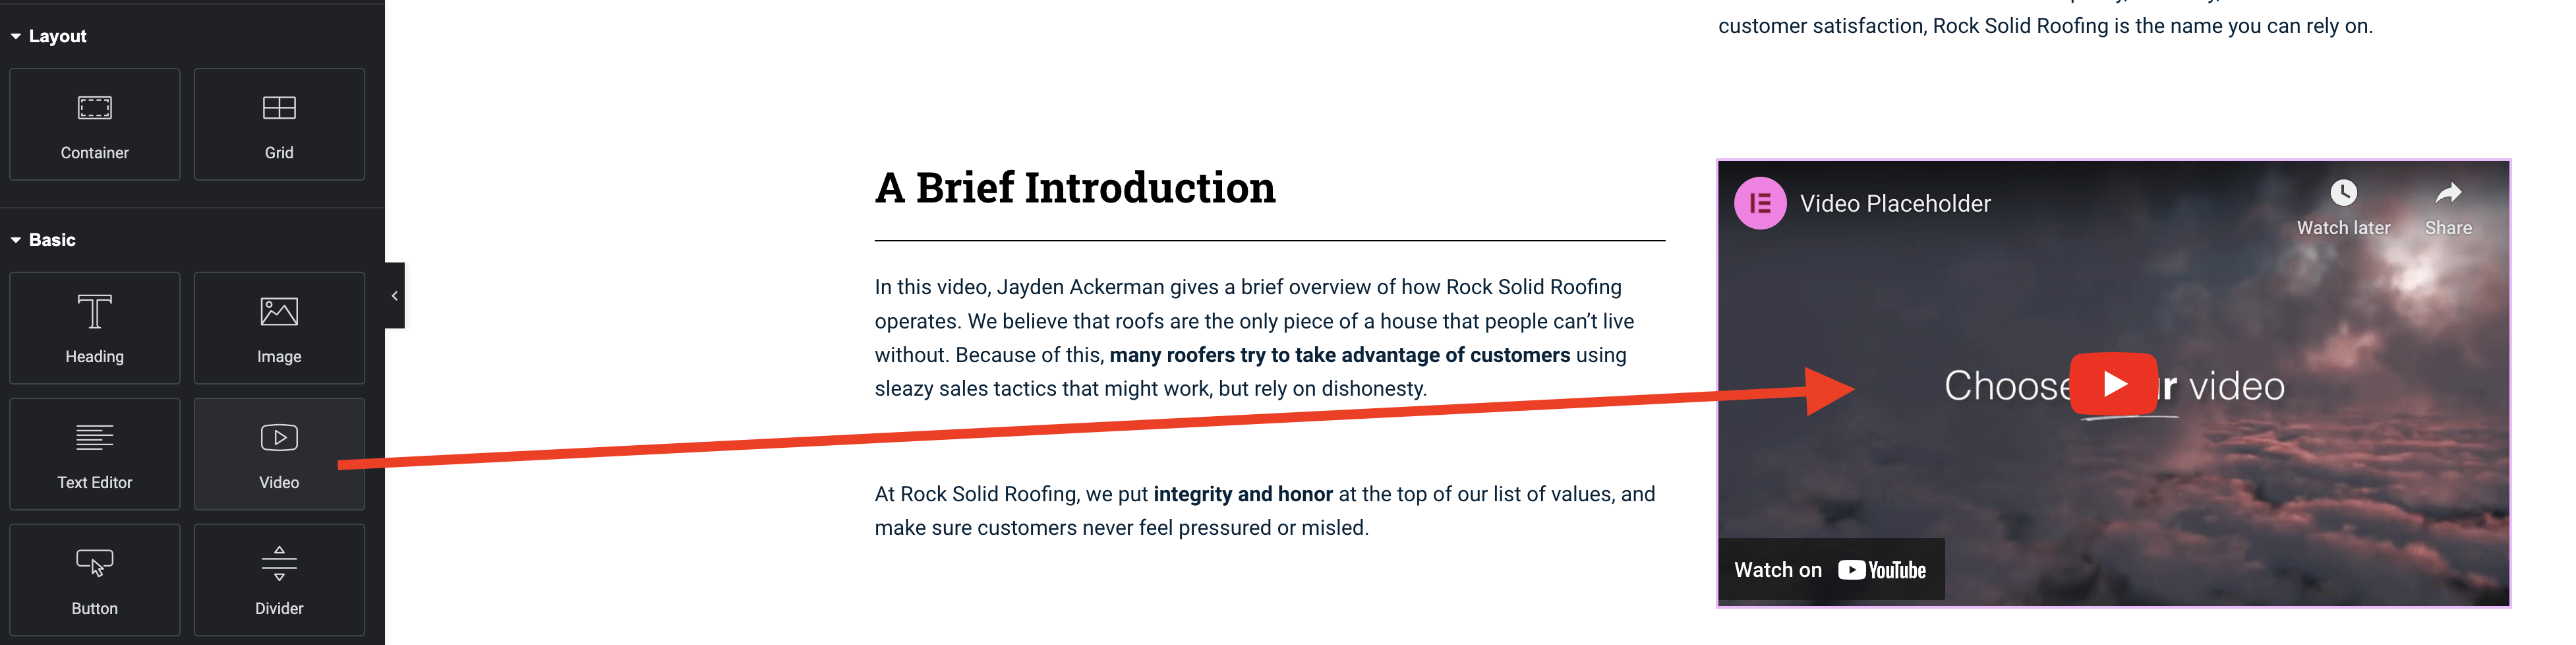
2. Add the Video Widget:
- Copy the video URL from your hosting platform (like YouTube or Vimeo).
- In Elementor, drag and drop the “Video” widget to your desired spot on the page.
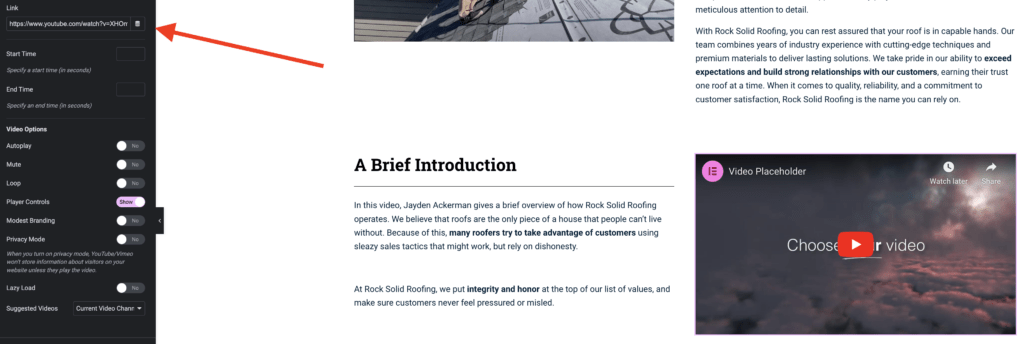
3. Paste Video URL:
- In the widget settings, paste the video URL in the “Link” field.
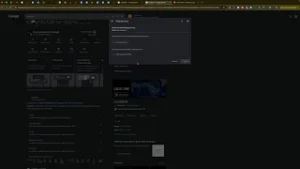
4. Customize Video Settings (Optional):
- Adjust options such as autoplay, mute, loop, start/end time, and size to fit your needs.
5. Publish the Page:
- Once you’re happy with the video placement, click “Publish” to make the changes live. Preview the page to confirm everything looks good.
Additional Notes:
- Ensure your video platform allows embedding and hasn’t restricted playback.
- Clear your website cache after embedding the video to ensure it displays properly.
Troubleshooting:
- If the video doesn’t display, check the URL and ensure embedding is enabled. Clear your cache if issues persist.
By following these steps, LocalSink can help local home service businesses effectively use videos on their WordPress Elementor websites, enhancing user engagement and showcasing their services.